
Author Presence: Installing your Header Photo on Your Blog
The last time here you installed your Blog Theme and your About,me Widget. Now we are going to do that thing people think is so cool. We are going to install the Header Photo.
What you need to know:
Size: Header 990 width x 180 height pixels
File Type: jpg or png (yes jpeg and jpg are the same)
If your image is larger than this you will end up cropping it, which means cutting down to the appropriate size. In some Themes you can move the crop area around to get what you want, in some you can’t move it. Also in some the suggested size does not have to be followed but I don’t recommend that your Header Photo be so large it takes up your entire landing page screen.
What should your Header Photo be?
Some choose to include their image with a quote from some famous author. Or perhaps just the quote. If you have books already, you can include them. Some people simply put a nice image of something they like, or something that they feel represents them or captures their personality. As with everything else remember the word, professional. This does not mean professional quality necessarily, but professional in nature and content.
For my example blog I am going to use a peaceful image for now.
We are once more headed to the ‘Dashboard’ of our Blog.
Once in the Dashboard, since we are changing some type of appearance of the theme/blog, we are going to to go:
Appearance
Then Customize
You will not be taken to a very, shall I say ‘funky’ looking page that is nothing like what we have see so far. On the page you see the landing page of your Blog as it appears now. At the bottom you can click the three different little screen options to see how your blog looks in the different types of devices it will be viewed on.
To the right you will find the areas to be used today:
- Custom Design-This usually requires a premium, meaning paid upgraded packages.
- Colors
- Header
- Front
- Widgets
- Site Title
The first thing to do is go to Header. I think that is a bit obvious since we are dealing with the Header Photo. I say this to simply show you the obviousness of what we are doing and how easy it is to actually figure things out on your own if you wish. One piece of advice. Take note of what Theme you are using, by this I mean write it down. You will be tempted to try other Themes for fun and end up deciding you liked your first Theme and will ultimately have no idea what that Theme is after looking at 20 or so different ones. (Yes, I have been there and done that.)
For Coraline after I clicked on Header I have some built in images I may use. Instead I will click Add new image.
In the middle of your screen you will see Select Files. Click it.
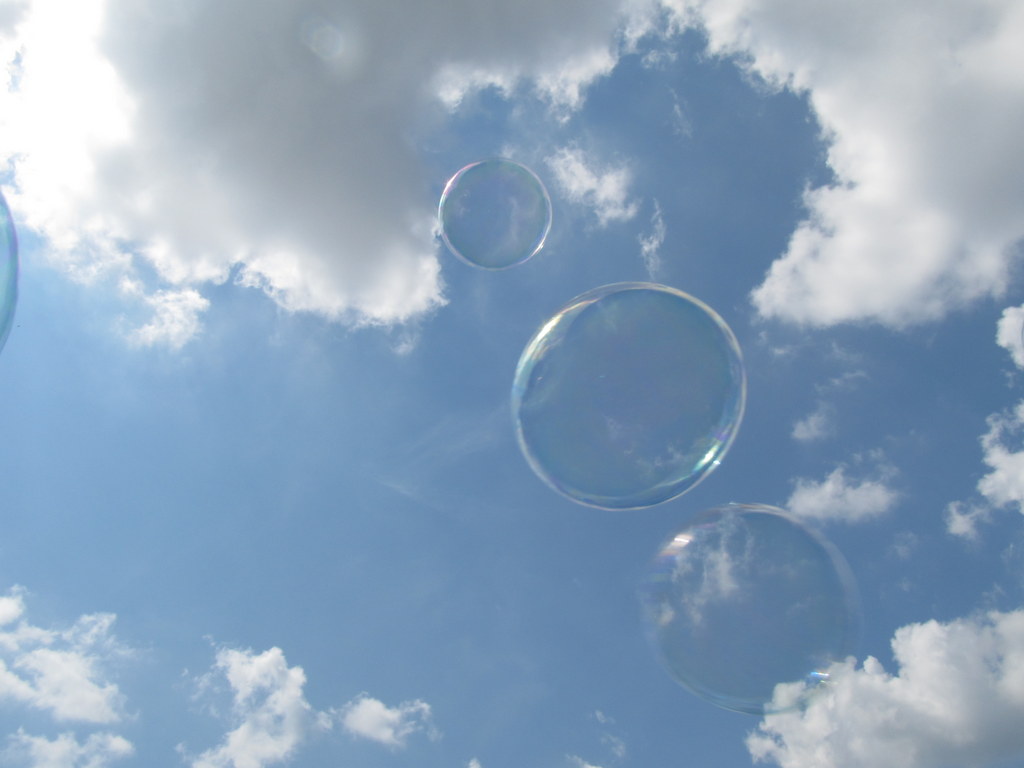
I loaded a photo my son helped me take. I was lying on the ground and he blew bubbles above me. Thus my Header Photo is of one of those bubbles.
You now see what your page looks like in the ‘funky page’ window.
If you don’t like it, just try again.
The image is going to be very short in height. For example if you look at the image of the bubbles the only bubble i was able to include was the large one in the middle. That’s fine with me, but just keep that in mind when you are coming up with your images. yes you can, with Coraline, expand the height but it will take away from your landing page visibility. I like to have at least my first post heading and some content showing.
If you are, and once you are happy let’s go ahead and look at the Front option here while we are in the Customize ‘funky page’.
You can either have a Static, meaning the same thing every time someone visits page, or a Your latest posts landing page. This really is up to you. I use the ‘Your latest posts option’. But some of you might wish to have the Static page be for advertising your latest book with their then been being able to click the Blog button on the Menu around your Header Photo . . . the normal location.
I don’t do anything with the Widgets here. And we will discuss them another day.
Site Title includes what your Site is called, regardless of your URL address. And it also include your Tagline. Remember the Tagline can be what you are the author of or just some one line thing like your motto. For now I am leaving mine blank.
You will also see a box to check or uncheck. Display Header Text. On my Ronovan Writes site since my Header Photo includes Ronovan Writes I don’t display the text. But for this blog I will keep it for now.
Now click Save at the bottom right. Then click the X in the bottom right.
You should now be back at your Dashboard. To see how everything looks in full screen, click your Site Title in the Top Left corner.
The next time we will connect our blog to the About.me account. And possibly connect it to Twitter as well.
You may be wondering when will it be time to post something, write a blog post/article. I am of the mind to have the connections to everything set first and then I can devote my time to writing. Sure there will be times you will connect other Social Media to your site along the way, but we’re going to make this right from the beginning.
Here are dimensions to keep in mind for the Coraline images.
- Header 990 x 180 px
- Content area 500 px wide (Depends on if you have two sidebars. Otherwise you will need to adjust. If too wide your sidebars will then be shifted down below or disappear all together.)
- Footers 220 px wide
- Feature widget 450 px wide
- Primary widget area 220 px wide
- Secondary widget area 180 px wide
Much Respect
Ronovan
© Copyright-All rights reserved by litworldinterviews.wordpress.com 2014
