I know that everyone says that we should pay for cover artists and editors, and if we can afford it, I really think that we should. However, that probably makes us hybrid authors – who knows? So, in the spirit of the Absolute Indie, slaving away in a garret with a shortage of funds, we should know how to make a decent cover ourselves. Most people have either an iPhone or an Android these days. These phones take amazing pictures, and have all sorts of features from sepia effects to zoom and macro capabilities. No, no. Come out from under the desk my technophobic scribblers. It’s not that hard, and even pics taken with really old dinosaur phones can be manipulated into really cool covers. Let me show you the basics.
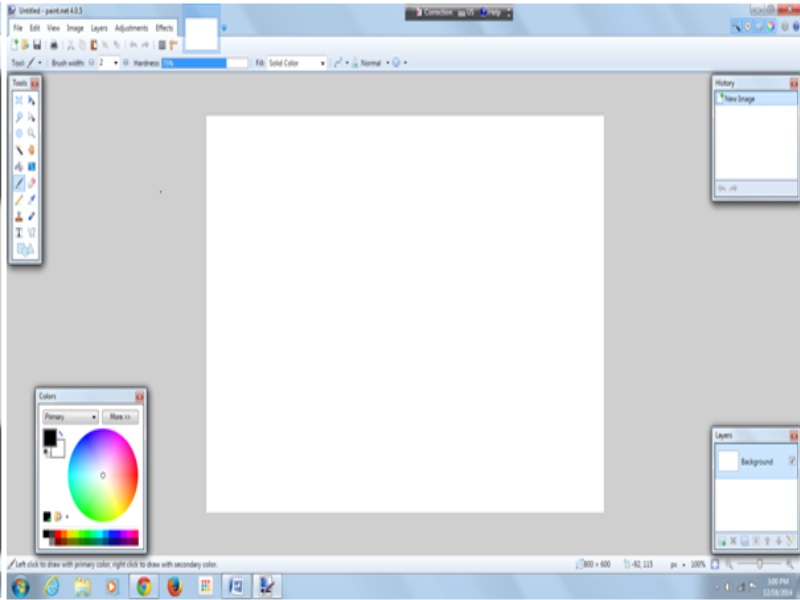
I’m going to be using one of my favourite programmes for this because it’s very easy to use. So if you’re a total newbie at cover creation without any software already installed on your computer, the first step is to download Paint.net – it’s totally free. Once you’ve installed and opened it, you will see this screen.
Click on the Layers tab (fifth from the left in the top ribbon). Select Import From File and upload your background image. You can find something in the public domain to use or pay for one from sites like Shutterstock or Dreamstime, but MAKE SURE that it is free to use for commercial purposes. Or you could take your own background photos or scans – I’m using a photo of a piece of fancy paper here.

Now go back to the Layers tab and click Import From File again to start working on your next cover element. I’m using an ancient photo from my computer taken with an ancient cellphone.

Stretch it out to the size you want it to be, and move it to where you’d like it to grace your cover. Go to your tools box in the top left corner, and select the square in the top left corner of it.

Drag your cursor over parts of the image background that you want to delete, and then hit the scissors icon in the top ribbon. Do this as many times as necessary to remove large patches of unwanted background.

Now select the Eraser in your toolbox (sixth down on the right) and play around with it – use the Brush Width in the ribbon above for thick sections to erase or thin fiddly bits of background. Take your time and use the Undo button (left facing arrow in the top ribbon) to go back as many steps as you like. Go back to your toolbox and select the triangle icon in the top right corner, move the image around or turn it until you’re happy with it.

If you’re happy with your image the way it is then you can begin to add text. Or you can add another layer as before. In the Layers box in the bottom right corner, select the icon on the far right to adjust your current layer’s opacity, which will make it as see through as you like. For now I’m going to pretend that this cover is just awesome, and add some text. First go to your Layers tab, and select Add New Layer. Then select Text in your toolbox. Choose your font and font size, and click on the font colour you want in the Colour box in the bottom left corner. Click on your cover where you want your text to begin and go for it.
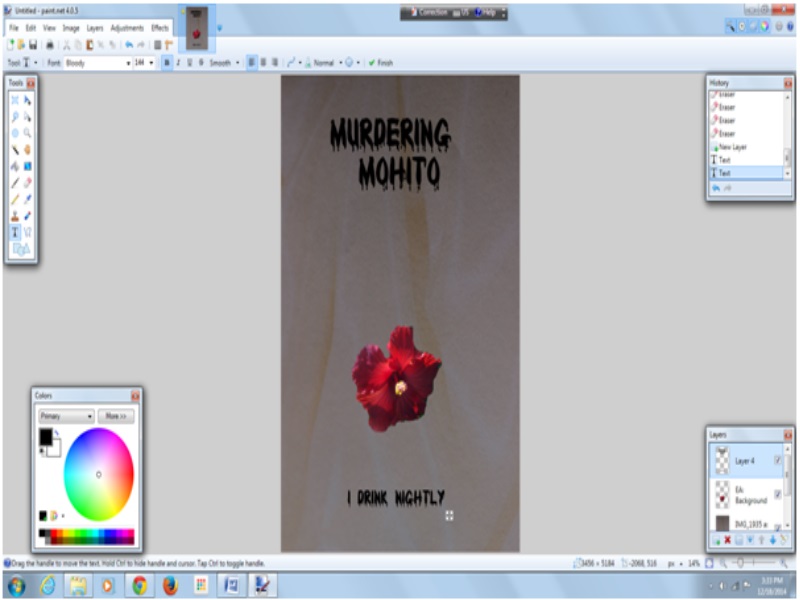
When you’re happy with your cover, click Save As and select Save as Type JPEG (Underneath the image title) and there you have your cover. Check on the requirements of the various online booksellers as far as size requirements are, and go back to Paint.net and resize in a flash.
I’m not even going to pretend that this particular cover could ever be used (it REALLY couldn’t be – in fact it’s a perfect example of the hastily created covers that give Indies a bad name), because a good cover is going to take longer to make than the time it took me to write this post, but I want to share the very basics of making your own cover easily. If you play around with this programme you’ll learn much, much more, so there’s no reason not to make a really attractive cover of your own if you’re short of cash, or simply if you fancy doing it yourself.

Reblogged this on Jo Robinson.
LikeLiked by 1 person
Reblogged this on Roxanne's Space and commented:
A good step by step on making book covers.
LikeLiked by 2 people
Thanks for sharing!
LikeLike
Reblogged this on Chris The Story Reading Ape's Blog….. An Author Promotions Enterprise! and commented:
Jo was (and still is) making her own covers long before I met her
I work on the covers of only one series of the many she is writing
So Pay Attention Class – Read – Have a go and LEARN 😀
PS – If you find it’s too much like hard work – you know where MY Book Covers Services are based 😀
LikeLiked by 3 people
Thank you Chris! 😀 I LOVE your covers – only you could ever do my sci-fi books. 😀
LikeLike
I WANT TO BE RONOVAN’S NEXT DOOR NEIGHBOR! I am learning so much . . . I feel I am about ready to Graduate from First Grade!
LikeLiked by 2 people
By the way, I LOVE the Boarder RON has arounf this post!
LikeLike
Fantastic post! You made it look like fun. Now, I want to try it 🙂
LikeLiked by 1 person
Thank you! 🙂 It’s actually fun when you play around with it, not only for covers but for any old thing you need by way of images for blogs and so on. 🙂
LikeLiked by 1 person
Thank you, Jo!
LikeLiked by 1 person
Pleasure Dannie! Your cover is gorgeous by the way.
LikeLike
Reblogged this on Smorgasbord – Variety is the spice of life and commented:
My last sweep of the evening and looking for treasures…. even I found this instruction on cover design easy to follow…….get creative
LikeLiked by 1 person
Thank you Sally! I’m actually really dim when it comes to techie things, so if I can do it, anyone can. 😀
LikeLiked by 1 person
Yeah… right I think you underestimate your tech skills the way you format and produce your books… XX
LikeLike
Thanks Jo.
LikeLiked by 1 person
Pleasure Olga. 🙂
LikeLike
With time, might be doable… ❤
LikeLiked by 1 person
Definitely is – you need a bit of practice, but it gets easier as you go – and enjoyable too. ❤
LikeLike
Thanks so much for sharing this, Jo! Shared via The Story Reading Ape 🙂
LikeLike
I love using Canva for covers. They do all the formatting. All I do is drag and drop.
LikeLike
Jo, thank you for the pointers… I will ‘play’ with it for a bit :-).
LikeLike
No. It’s not something I will EVER do! As soon as I hear you talking about Layers, my eyes glaze over. This is the result of creating my own maps for my books. I’m proud of them, but it was long, hard work, time I’d rather spend doing something else… like pulling out my eyelashes… or… or even writing a book lol! I’d rather pay someone else to do it, than use one of my own botched creations. Yours are very good though…
LikeLike
Reblogged this on theowlladyblog.
LikeLike
Reblogged this on Everything Indie and commented:
Here are some excellent tips on how to design your own original cover, again by Jo Robinson.
LikeLike
Thanks for the great tip!. Reposted on “Everything Indie”(http://www.connieflanagan.wordpress.com).
LikeLike
Reblogged this on Thoughts by Mello-Elo and commented:
Saturday inspiration! I found this article on LitWorld Interviews and had to reblog it. Not only does it provide useful tips on how to make your own cover, the instructions are clear and concise, even for me! Definitely worth reading and following. Enjoy.
LikeLike
Reblogged this on kyrosmagica and commented:
Making your own book cover . Reblogged from Lit World Interviews.
LikeLike
Thank you, Jo! This one is great and I am bookmarking it in case I decide to create my own cover for my next book!
LikeLike
Reblogged this on Archer's Aim and commented:
Been making some covers myself lately for some prequel short stories to The Bow of Hart. Good DIY info here – reblogging on Archer’s Aim
LikeLike
Reblogged this on Kim's Author Support Page.
LikeLike
At the risk of being the contrarian (along with Ali Isaac), I will offer this: The main reason self-published books have the stigma of being “substandard” is because writers make the mistake of thinking their amateur designs are “good enough” to compete in the marketplace. Not true.
An Example: I recently hired 3 designers from Fiverr.com to take a crack at designing the cover of my debut novel (Full Disclosure: I’m a graphic designer by trade, but wanted a fresh take on my concept). A couple of the designs were pretty awesome. I posted 3 options to Facebook and asked my community to chime in, and there was a clear winner.
I paid extra for the editable Photoshop document, and now have a cover that I love – and more importantly – one that has already proven to intrigue and excite a wide swath of readers. When it comes to editing AND cover design, spend the money to hire a professional.
LikeLike