I know that everyone says that we should pay for cover artists and editors, and if we can afford it, I really think that we should. However, that probably makes us hybrid authors – who knows? So, in the spirit of the Absolute Indie, slaving away in a garret with a shortage of funds, we should know how to make a decent cover ourselves. Most people have either an iPhone or an Android these days. These phones take amazing pictures, and have all sorts of features from sepia effects to zoom and macro capabilities. No, no. Come out from under the desk my technophobic scribblers. It’s not that hard, and even pics taken with really old dinosaur phones can be manipulated into really cool covers. Let me show you the basics.
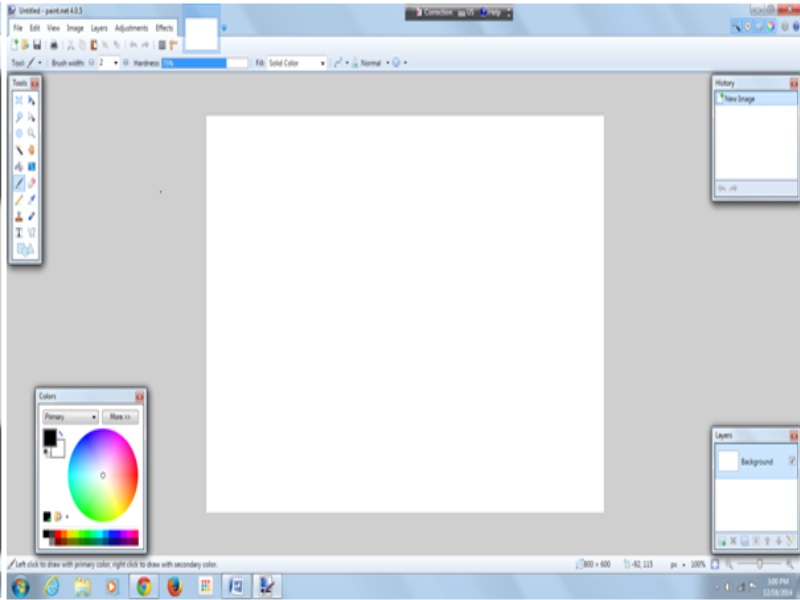
I’m going to be using one of my favourite programmes for this because it’s very easy to use. So if you’re a total newbie at cover creation without any software already installed on your computer, the first step is to download Paint.net – it’s totally free. Once you’ve installed and opened it, you will see this screen.
Click on the Layers tab (fifth from the left in the top ribbon). Select Import From File and upload your background image. You can find something in the public domain to use or pay for one from sites like Shutterstock or Dreamstime, but MAKE SURE that it is free to use for commercial purposes. Or you could take your own background photos or scans – I’m using a photo of a piece of fancy paper here.

Now go back to the Layers tab and click Import From File again to start working on your next cover element. I’m using an ancient photo from my computer taken with an ancient cellphone.

Stretch it out to the size you want it to be, and move it to where you’d like it to grace your cover. Go to your tools box in the top left corner, and select the square in the top left corner of it.

Drag your cursor over parts of the image background that you want to delete, and then hit the scissors icon in the top ribbon. Do this as many times as necessary to remove large patches of unwanted background.

Now select the Eraser in your toolbox (sixth down on the right) and play around with it – use the Brush Width in the ribbon above for thick sections to erase or thin fiddly bits of background. Take your time and use the Undo button (left facing arrow in the top ribbon) to go back as many steps as you like. Go back to your toolbox and select the triangle icon in the top right corner, move the image around or turn it until you’re happy with it.

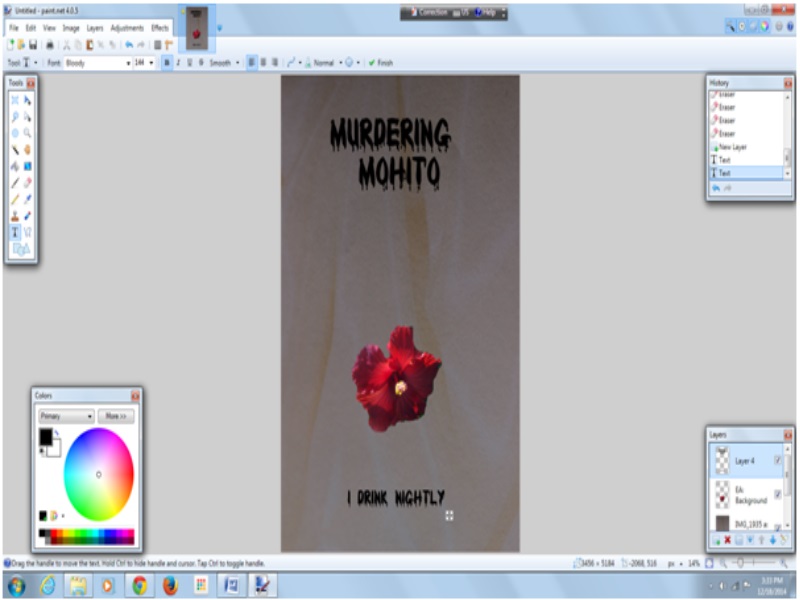
If you’re happy with your image the way it is then you can begin to add text. Or you can add another layer as before. In the Layers box in the bottom right corner, select the icon on the far right to adjust your current layer’s opacity, which will make it as see through as you like. For now I’m going to pretend that this cover is just awesome, and add some text. First go to your Layers tab, and select Add New Layer. Then select Text in your toolbox. Choose your font and font size, and click on the font colour you want in the Colour box in the bottom left corner. Click on your cover where you want your text to begin and go for it.
When you’re happy with your cover, click Save As and select Save as Type JPEG (Underneath the image title) and there you have your cover. Check on the requirements of the various online booksellers as far as size requirements are, and go back to Paint.net and resize in a flash.
I’m not even going to pretend that this particular cover could ever be used (it REALLY couldn’t be – in fact it’s a perfect example of the hastily created covers that give Indies a bad name), because a good cover is going to take longer to make than the time it took me to write this post, but I want to share the very basics of making your own cover easily. If you play around with this programme you’ll learn much, much more, so there’s no reason not to make a really attractive cover of your own if you’re short of cash, or simply if you fancy doing it yourself.
