Keeping Your CreateSpace Images at 300dpi

An author emailed me recently and said that he couldn’t understand why CreateSpace was telling him that the images in his book did not meet their requirements. He had made sure that they were all 300dpi and they were all large resolution files. He’d made sure to insert them into his Word manuscript rather than using copy and paste, so as far as he was concerned all should have been well when he loaded his PDF file. He hit the ignore button and went ahead with publishing his book as it was. When he received his proofs though, he realised that something had gone wrong with image quality after all.

One thing that a lot of new to paper publishing scribblers don’t know is that Microsoft Word will always try to automatically compress any images in your document to 220ppi. Often we’ll just assume that CreateSpace is mistaken as we are quite confident that our carefully edited and sized images are just hunky dory, and then we click on ignore and publish away. Unfortunately CreateSpace is highly unlikely to be mistaken with this, so we are actually publishing low definition images after all. The thing to do is to get rid of the automated compression in your manuscript before saving as a PDF file, and double check again before doing that too. Here’s what to do.

(Click on images to enlarge)

Insert your image into your document.

Insert Picture 1

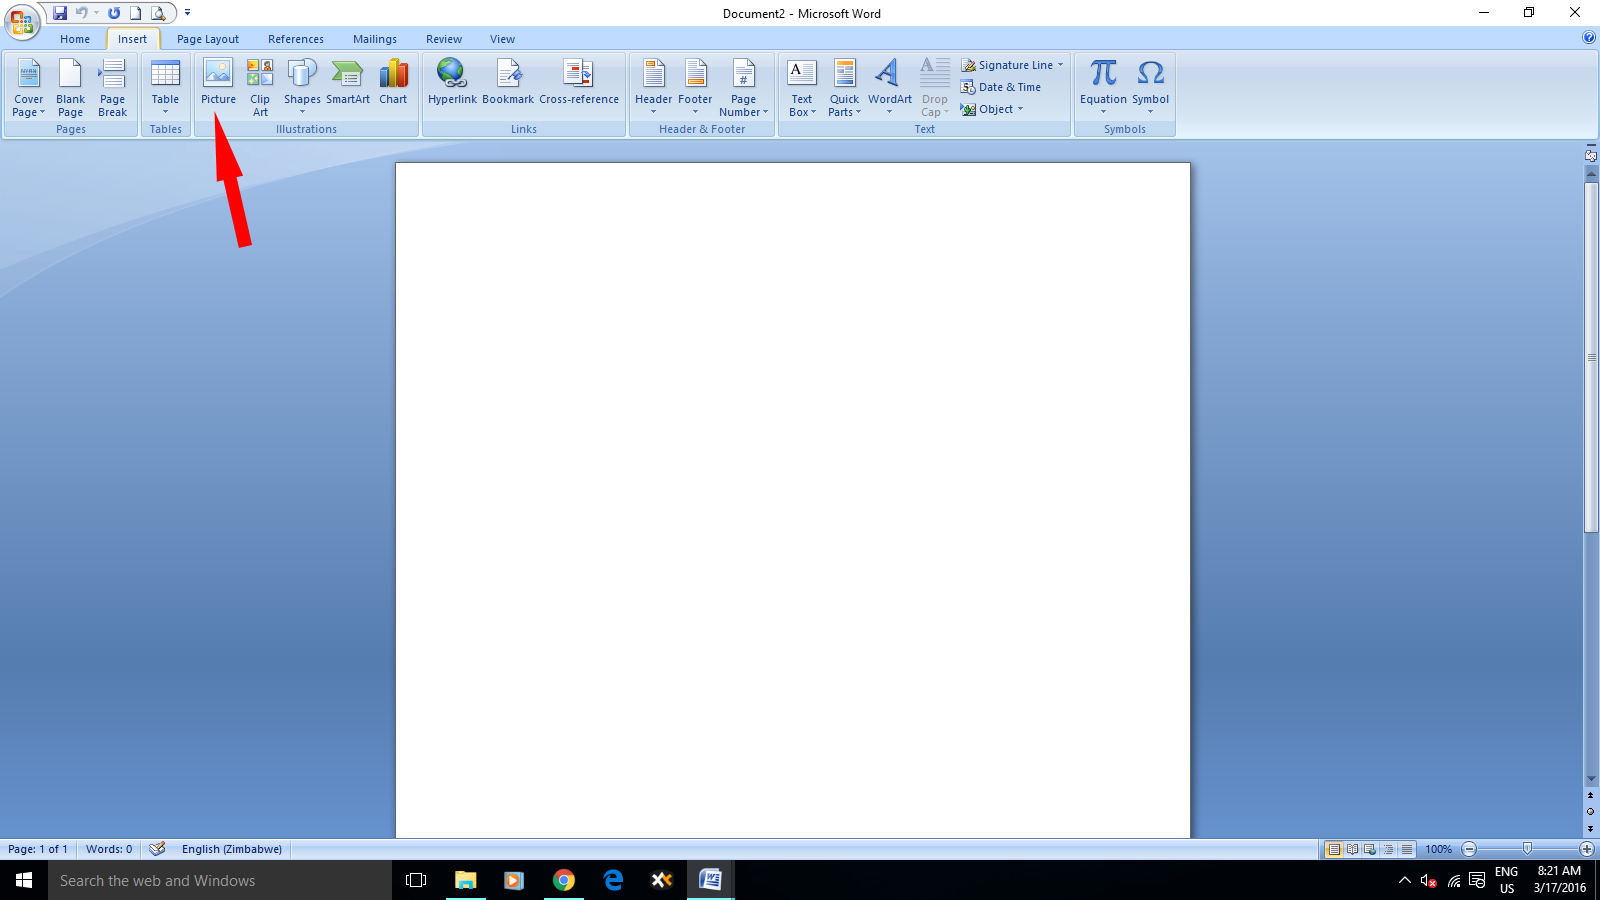
When your Picture Tools menu appears, click on Compress Pictures.

Compress Picture 2

Select Options.

Options 3

Uncheck the Automatically perform basic compression on save box and click OK.

Automatically Uncheck 4

Once you’ve made sure that this box is unchecked for all the images in your manuscript, it’s time to save the whole thing, whereupon Word could once again try and compress your pictures. To be sure that it won’t we’ll do a bit more unchecking of boxes.

Rather than just simply saving the document, use the Save As feature from the Microsoft icon in the top left hand corner.

Save As 5

Click on Tools below, and select Compress Pictures.

Save As Tools 6

Save As Tools Compress Pictures 6

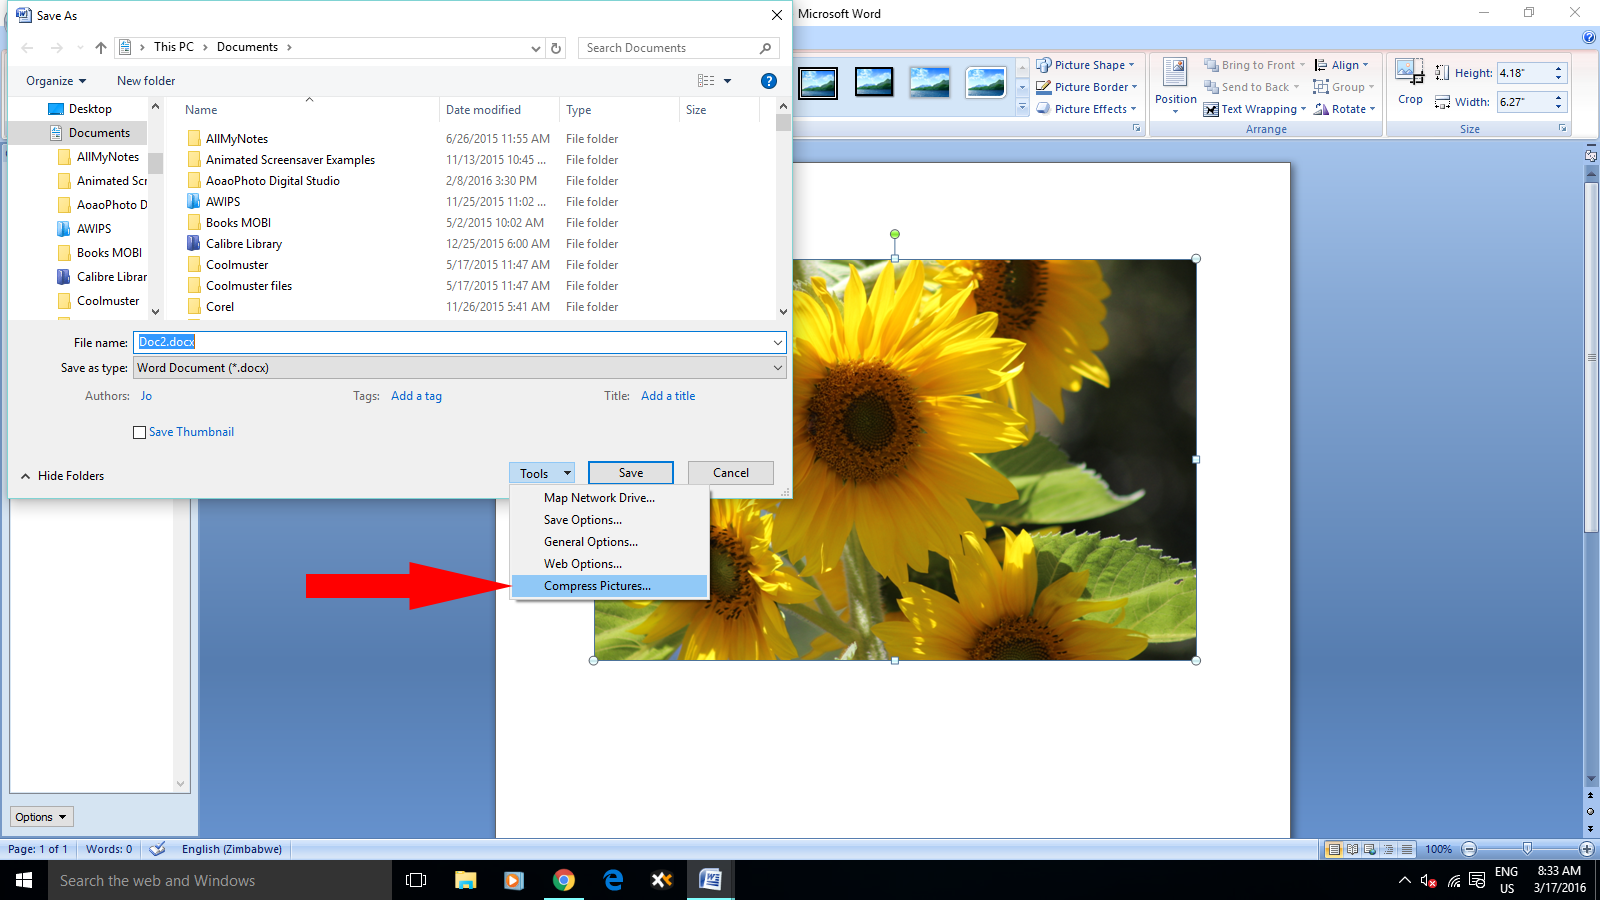
Here once again, uncheck the Automatically perform basic compression box on save and click OK before saving.

Save As Options Uncheck 8

Once you’ve saved your manuscript this way, you can then save it as a PDF file and it should load up to CreateSpace with no image resolution  problems.

Useful Free Tool for Writers

I downloaded the trial version of Scrivener a couple of years ago, but at that point it all went completely over my head. So many people seem to love it so much that I downloaded it again recently, and after completing the tutorial realised that it isn’t all that complicated and quite a brilliant tool. I don’t think I’m going to keep it though, because it seems limited when it comes to inserting images for eBooks, and I quite like using Microsoft Word. When the new 2010 version arrives at the end of this month there will be a whole lot of useful new functions for us scribblers to use too, including having multiple browsers viewable on your desktop simultaneously. My favourite things on Scrivener are the corkboard and the ability to open two different documents at the same time. I already can, and do, open and work on two documents at the same time with Word though – very handy, and I use a simple but also very useful software called AllMyNotes. It’s a free download, so just click on the name if you want it. Go to the download page and select the free version.

It’s not specifically created for writers, but it serves me as my “corkboard” when I’m writing. All you do is create a folder for each project, and also for the private things on your computer that you want to be able to access quickly. Then you create separate notes within each folder for all the things you need. For instance, you could create one for links to any research material for your book elsewhere on your computer. You can insert tables, add pictures, or just type in the text that you want. Say you create a note for characters, another for timeline or locations and scenes, one for ideas, and another for your launch preparations, when that folder is open you get a corkboard effect and you can find what you’re looking for in seconds, rather than having to trawl around looking for and opening another document. (I’ve temporarily deleted my notes for the screenshot because this isn’t published yet, and I don’t want to be clouted for lobbing spoilers around) Click on images to enlarge for a better view.

Untitled

If you’d like to see if this will benefit your writing life, then install it and play around, and then just uninstall if you don’t like it. When you set up your first folders and notes, right click on each one to choose an icon for it, like the light bulb for ideas, or the book for the folder itself. You get to play around with the colours and backgrounds, and you can move them around by clicking and dragging. Drag the corresponding note into the folder. Sometimes I drop them in the wrong place, but that’s alright, just click and take them back to where they should be.

You can set up the amount of columns and rows in the tables, and also drag to adjust the width, so for your characters note you could have things like hair colour or species all in one spot side by side. I find this a fabulous help for my sci-fi/fantasy series, and list things like a particular alien’s looks, name, home planet, particular abilities and other things that are easy to forget, especially in a series. I have three separate outline notes for my full length books, one for the beginning, and others for the middle and end.

All My Notes

If you’re writing non-fiction, or even fiction that you have a lot of research notes for on your computer, make another note for that, and using the link feature it takes a second to hyperlink, and when you click on it, it opens the document straight away, without you chancing getting distracted while looking for it yourself. This is not something you’re going to have to invest lots of time learning how to use – you’ll get the basics immediately, and find more uses for it as you go along.

Obviously this is no replacement for a great writer specific programme like Scrivener, but not everyone fancies paying the forty odd dollars it costs, and in my case, I prefer total control, using Word for eBook creation, and All My Notes for my corkboard and everything else. It’s really easy to use, so if you sometimes find yourself wishing you could have all you need for writing your book right there at the click of a button, give it a try.